
What is an enabling environment?
Every setting should be considered as an enabling environment but what does this look like and how can you achieve this?
Let’s start at the beginning. The Oxford English Dictionary describes the meaning of enable to ‘give one the means to do something; to make something possible’. In terms of Early Years, this would mean providing opportunities for children to lead their own learning; to explore and discover; to feel safe and valued; somewhere for them to grow and develop with the support of practitioners. The environment is your setting, all of it, inside and out. The environment is the third teacher in every setting. Parents/carers are the first, practitioners are the second. Therefore, it is imperative that your environment is organised to support its role. Now think about your setting and how you enable children to play and learn.
What does an enabling environment look like:
• Allows children to be able to move freely between activities
• Children can make choices on their play
• Offers open spaces for large movement, group play and building
• Offers a quiet cosy area for children to take time by themselves, rest or read
• Has resources available for children to self-select
• Where learning comes naturally
• Children should be able to lead their own learning
• Should encourage creativity
• Feels warm, welcoming and safe
• Contains real and natural resources
• Ideally has an outdoor area where gross motor skills can be practised and refined, an area for planting and growing, creative play, quiet area
• Even better if there is free flow between inside and outside
The role of the practitioner in providing an enabling environment:
• Organise the environment to enable children to grow and develop
• Ensure a happy, secure and calm atmosphere
• Plan, observe, asses and reflect
• Support, guide and develop children’s learning
• Provide a variety of materials and resources
• Provide interesting and inviting provocations
• Listen to child voices and enhance the setting according to their suggestions
• Provide areas/resources/activities according to children’s learning styles and schemas
• Celebrate children and their efforts through display
• Nurture children’s curiosity, well-being and self-confidence
How to create an enabling environment:
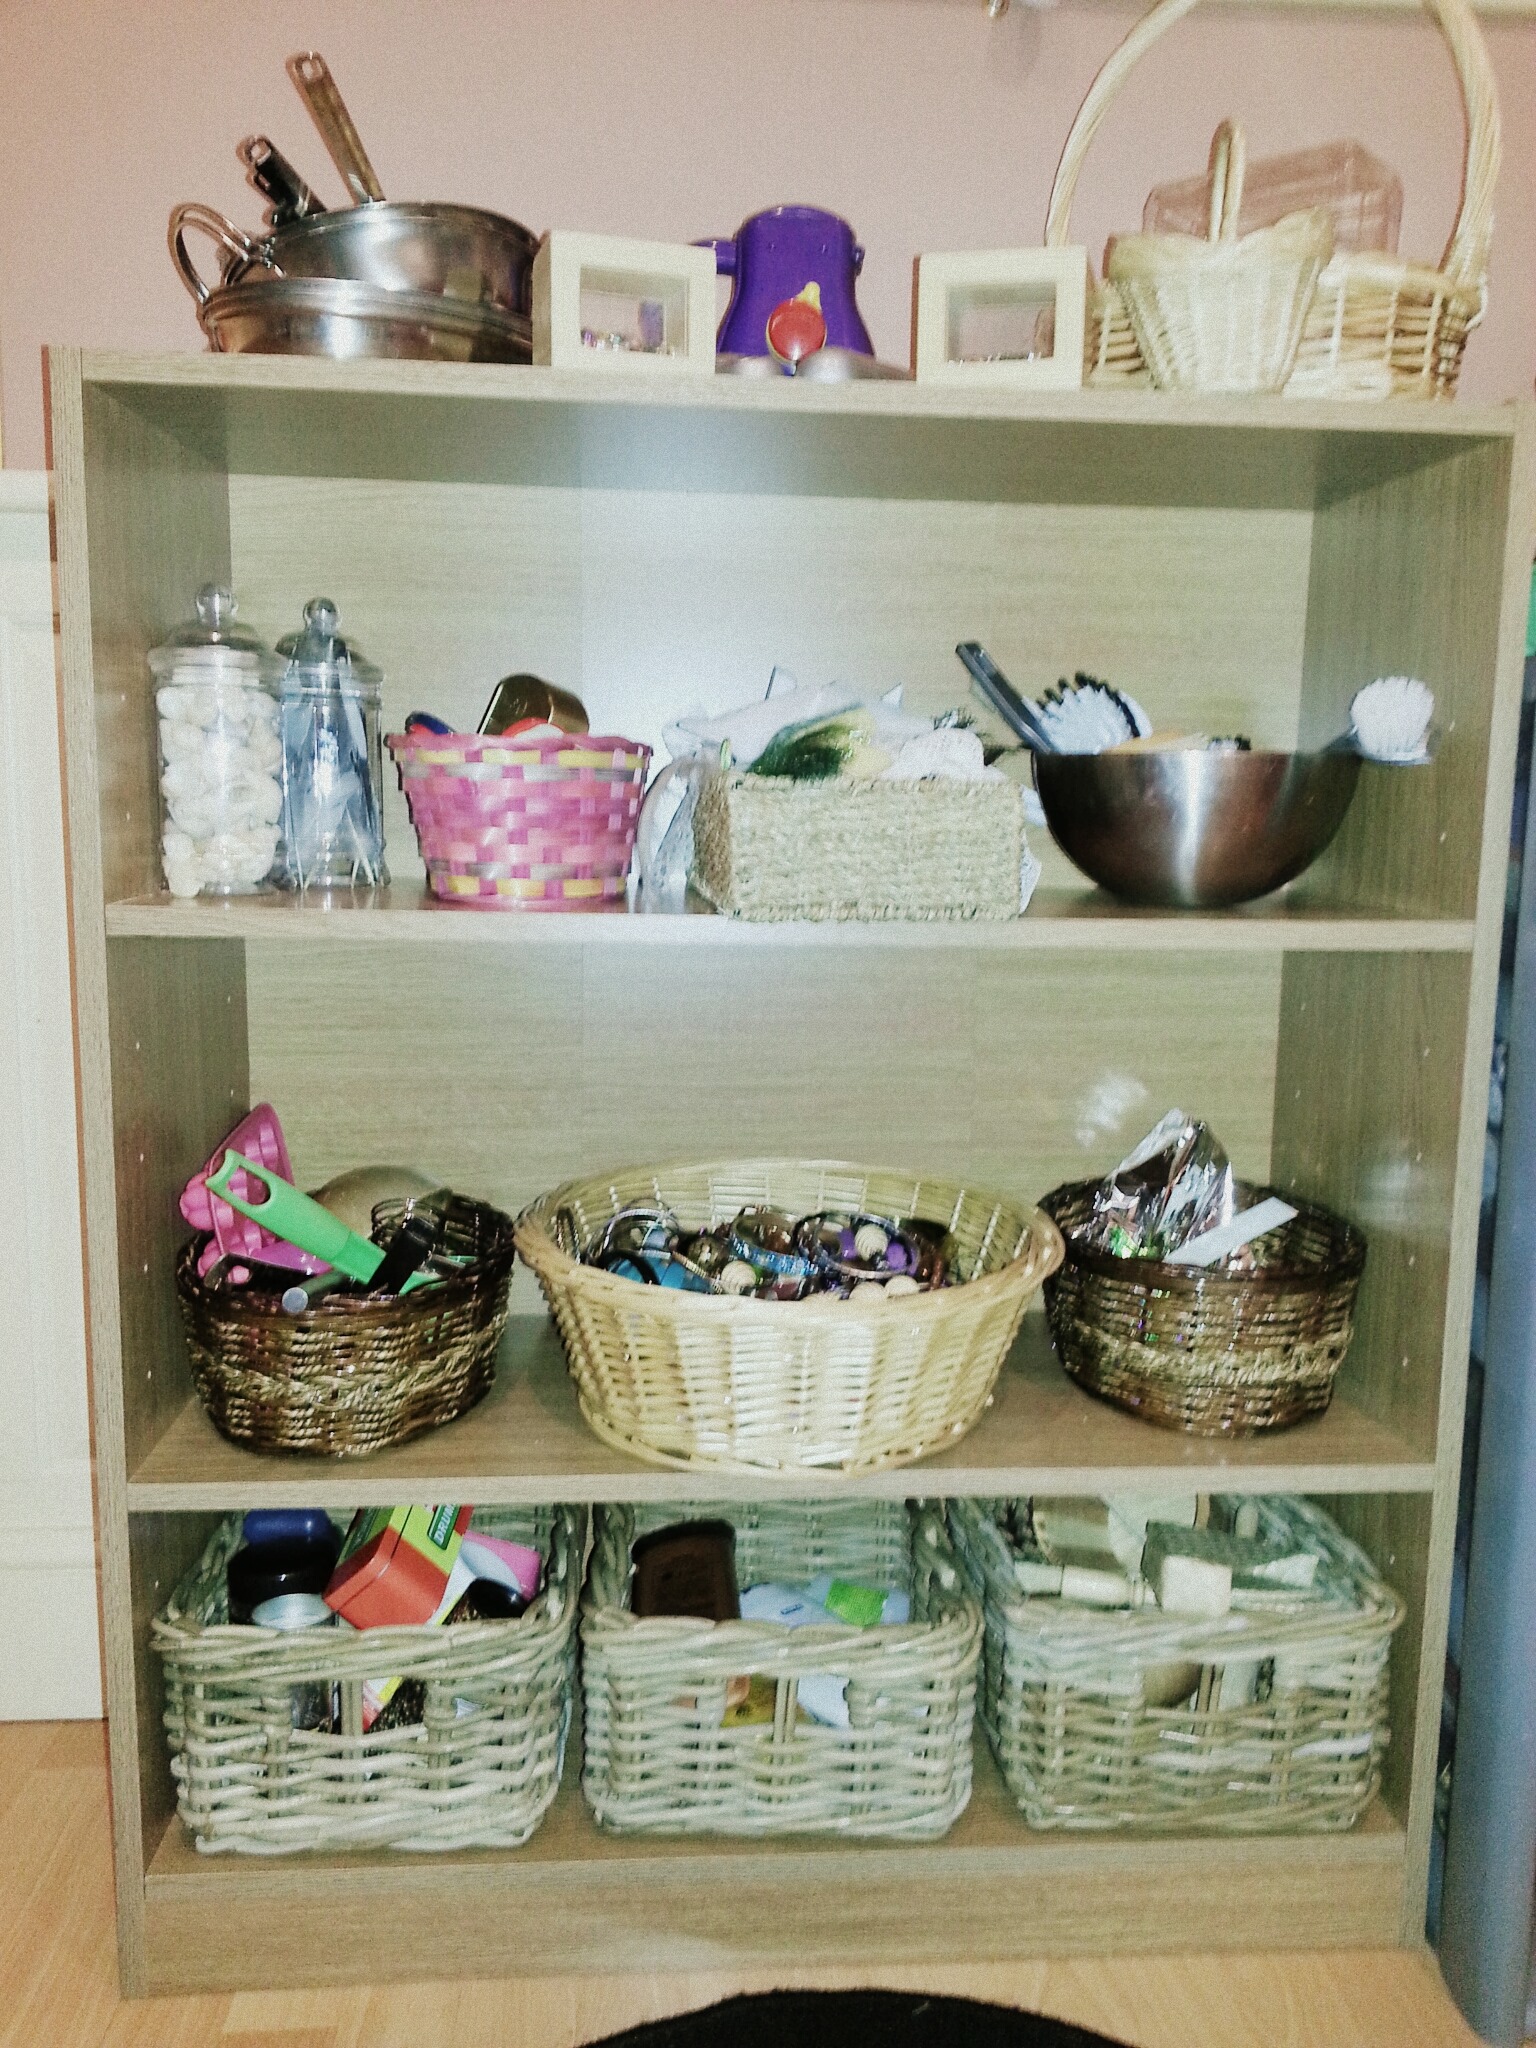
One easy solution to create your enabling environment is to look at all of the resources. Remove any broken toys or with parts missing. Label boxes so children and staff know where things go when tidying away. If you have too many of one resource, then limit what you have. If something is rarely used then either think about how it can be made more interesting (repositioning it in another part of the setting or sprucing it up), otherwise remove that too. If something is overly large do you really need it? Can it be rehomed outside? Having a big declutter is a great first step and produces instant results both visually, mentally and on children’s development.
Following your declutter, create an evaluation sheet so you are able to record your reflections and document your progress.
1. Make a list of your vision – how you want the setting to run, how you want the children to feel and behave.
2. Ask the children what they would like in their setting. It’s amazing the ideas they have, will boost their self-worth being listened to, will give them added interest and ownership if they are involved.
3. Look at your environment at child’s eye level. This involves you getting down on the floor and seeing what the children see. What can you see? Can the children move about easily? How does the environment make you feel (excited/calm/cosy/over whelmed)? Are the children able to make choices? Can they extend their own learning?
4. Compare your vision with how your setting currently runs and with the children’s voices. Do they closely match or are they far apart? What changes are required to reach yours and the children’s vision (reshuffle of furniture/remove or reduce the amount of visuals/create new areas/different resources)?
5. Create an action plan listing the changes you are going to make, who is going to do what and by when.
6. Once the changes are made it is important to continue reviewing and reflecting on these. Ensure you record your findings too. Record what worked well, what could be improved or what did not work. Remember to include reasons why something may not have worked and how you can change it. What effect have these changes had upon the children and staff (children more engaged/behaviour has improved/setting feels less cluttered/staff are engaging more)?
Recording your progress at every step is important as it demonstrates that you are able to think critically and provide possible solutions. Through trial and error, you can discover which is the best way of working for your setting. As every setting is different in terms of layout, children and staff, finding what works for you can only be done by trialling. Sometimes you may need to try a few changes before you find the right one. This does not matter. Continually reflect and record. Keep this document in a self-evaluation file to show Ofsted.
Once you feel you have created the right enabling environment, enjoy it with the children. Use every area and constantly observe and record the children’s responses. Bear in mind, what is right currently, may not be right next month or in several months’ time. Changes to children’s interests, numbers, abilities, level of development and latest theories will require you to begin the process again. Making changes to reignite children’s interests or to spark new ones are also required, as for children who attend a setting every day, they can become bored and too familiar with it being the same for too long. Just as we get bored, children do too.
Have fun with making your changes.
Look out for future blogs on outdoor provision, creativity, using authentic resources.


